


How do I connect the screen to my TV without cable?
Make sure both your TV and Quest are connected to the same Wi-Fi. To cast to your TV, both the Quest and your television must be connected to the same wireless network. If you haven’t already done so, turn on both your TV and your Quest and use the menu system to connect to the same Wi-Fi network.
This method works for TVs that support casting. If you do not have a smart TV or your TV doesn’t support casting, you can use a smart box such as Roku, or Chromecast instead, or you can cast to your phone and mirror your phone screen to your TV.
- Turn on the Quest headset and put it on. Press the pill-shaped button on the right side of the Quest headset to turn it on. Then place it over your eyes and pull the straps over the back of your head. Use Velcro to tighten the straps.
- When you first turn on your Quest headset, you will need to set up a guardian. This prevents you from running into obstacles. Follow the instructions in the Quest headset to set up a guardian.

- Press the Home button on the controller. It’s the flat button on the right controller with an “O” on it. This displays the home menu at the bottom of your vision.
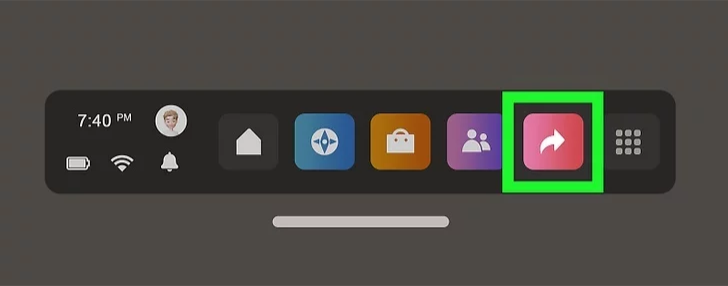
- Select the Share icon. It’s the pink icon with a curved arrow pointing right. It’s towards the right side of the home panel at the bottom of your vision. Point the controller at the Share button and squeeze the trigger to select it. This displays the Share menu.
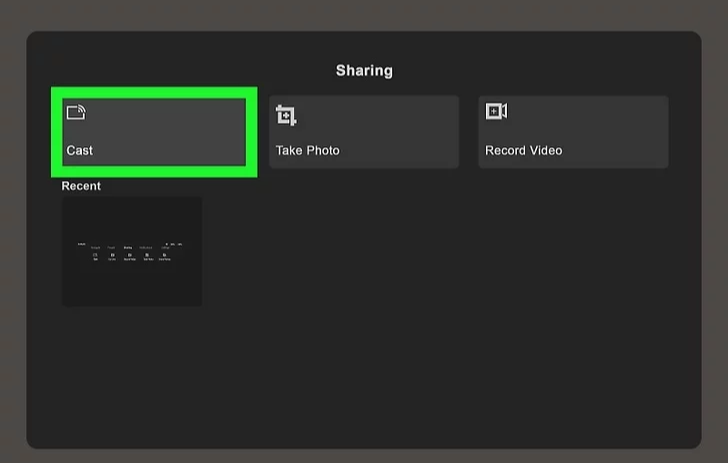
- Select Cast. It’s the first option in the upper-left corner of the Share menu. Your Quest will scan the network for devices it can cast to.
- Select your television or smart box. Once your Quest discovers your television or smart box, point to it and squeeze the trigger to select it. Your Quest will connect to your TV. Then what you see in the Quest will be mirrored on the TV screen.